
Unfortunately, the resulting scene became too big to be supported on any computer that we found, and refused to render.
Category Archives: Building

Laying Out The Abyss
After collecting the models created by my team mates, I took upon the task to place all the assets into the Valley to make it look like a natural scene.


The scene would consist of several “stages”:
- Cranes
- Observation Deck 1
- Observation Deck 2
- Crash Site
- Residential Area with crash
- Storage Area
- Refinery and Mine Shaft
Reducing Polycount and Bump Mapping
Bringing my valley into Maya I reduce the polycount but now the landscape looked flat and uninteresting, so I included a seamless rock texture as a Bump map to give the topology some more intense contours and overall made the geology look more natural.
The rock texture used was a stock image:

And this was the resulting effect:

Trying New Things – Mudbox
After my flop at attempting Displacement Maps, I tried to sculpt the entire mountain range in Mudbox.
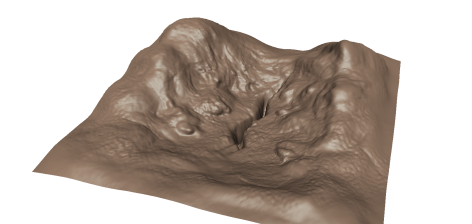
This was more the desired effect I was going for. The mountains were strong and tall, with all the little craggy details needed to make them look huge. The crevice also worked nicely.
The only downside the the phenomenal polycount reaching way into the millions.
To fix this issue, I brought the model into Maya and started working on the final stage.
Building the Landscape – Displacement Mapping
When it came to modelling the huge mountainous valley for Abyss, I was faced with several different options:
- Bump or Displacement maps
- High poly modelling on Mudbox
- Manual building
As I was unfamiliar with Mudbox, I decided to stick with the more familiar Maya.
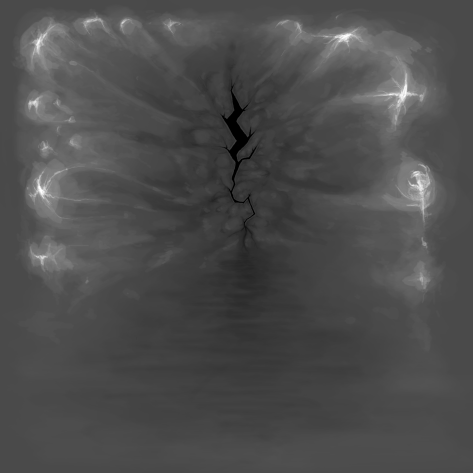
Following this tutorial I attempted to make the mountain valley using purely a displacement map and a polygon plane. Needless to say this did not turn out as good as I was hoping.
This was the displacement UV I painted:
And this was the result:
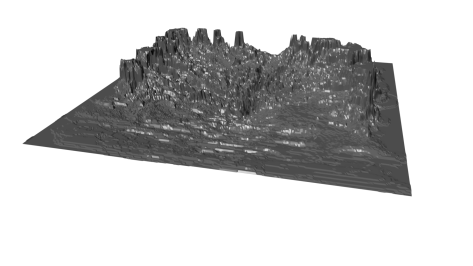
It wasn’t long after that I scrapped the idea of displacement mapping and turned to more practical measures.
